Skip to content

Introduction
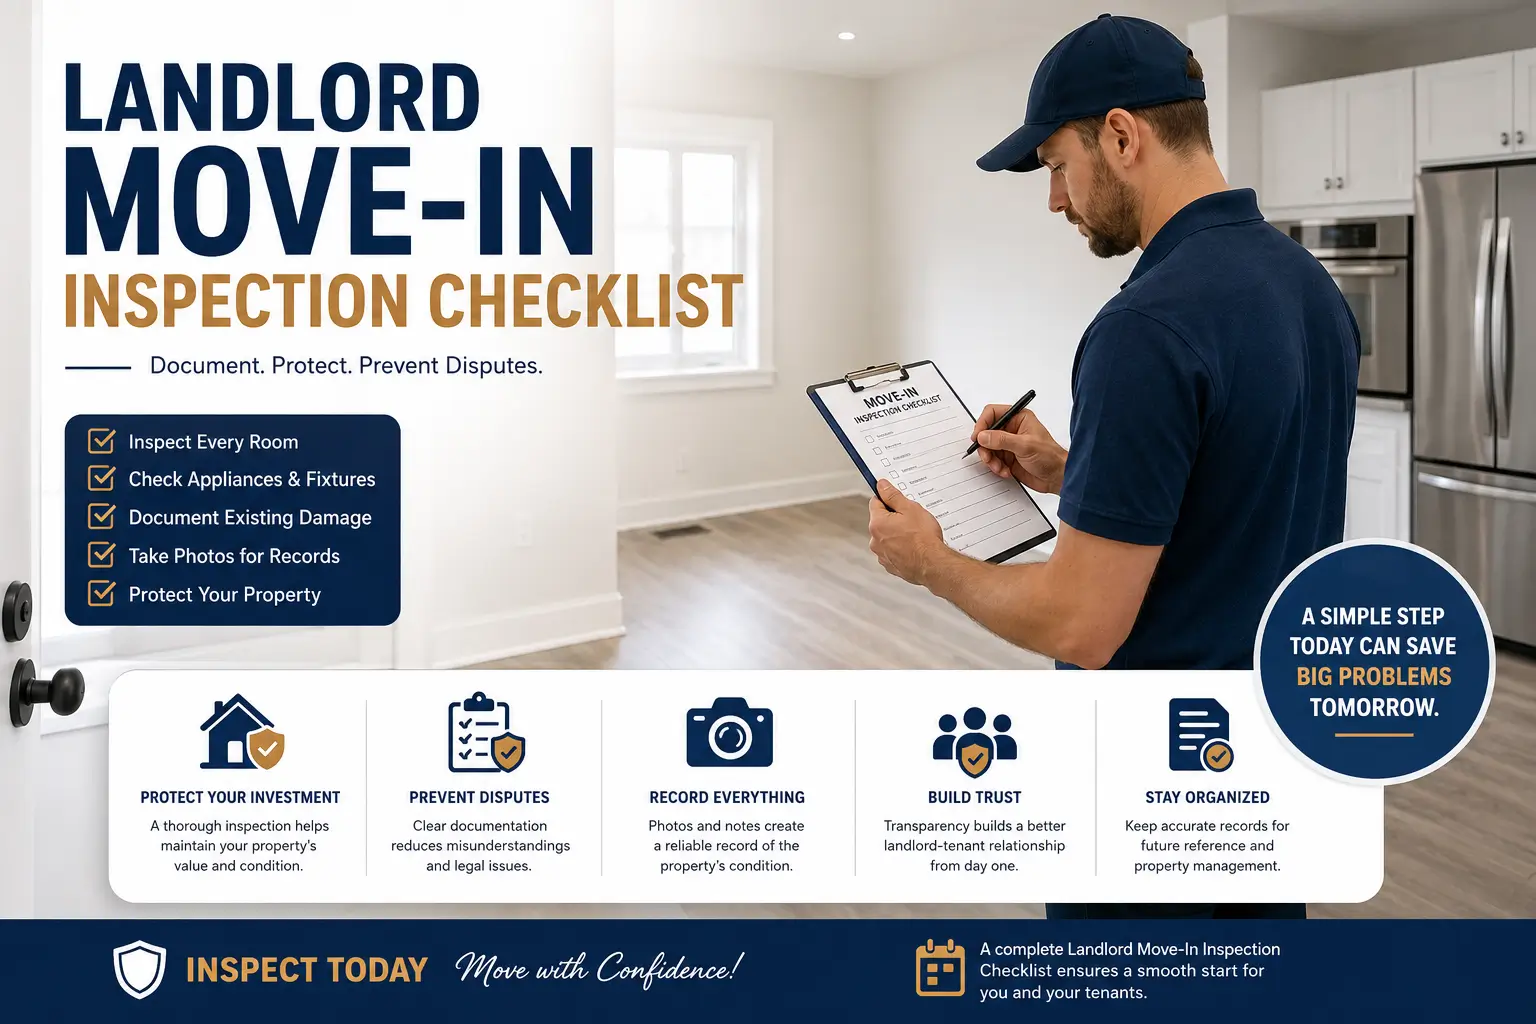
Moving into a rental property is an exciting milestone, but it’s also one of the most important times to document the property’s condition. Whether you’re a landlord preparing a property for new tenants or a renter wanting to protect your security deposit, having a Landlord Move-In Inspection Checklist is essential.
A detailed inspection creates transparency, reduces misunderstandings, and provides a clear record of the property’s condition before anyone moves in. It can help avoid expensive disputes at the end of the lease while ensuring both parties understand their responsibilities.
In this guide, you’ll learn what a move-in inspection should include, why it’s important, and how to conduct one effectively. We’ll also share practical tips to make the process smooth and stress-free.
Why a Landlord Move-In Inspection Checklist Matters
A rental property changes hands multiple times throughout its life. Without proper documentation, it becomes difficult to determine whether damage occurred before or during a tenancy.
Using a Landlord Move-In Inspection Checklist helps:
- Protect the landlord’s investment
- Safeguard the tenant’s security deposit
- Reduce disagreements during move-out
- Keep maintenance records organized
- Improve communication between both parties
- Simplify future property inspections
A well-documented inspection benefits everyone involved.
What Is a Landlord Move-In Inspection Checklist?
A Landlord Move-In Inspection Checklist is a detailed document used before a tenant officially occupies a rental property. It records the condition of every room, fixture, appliance, and outdoor area.
Typically, both the landlord and tenant walk through the property together while reviewing the checklist. Photos and videos are often taken alongside written notes for additional documentation.
The completed checklist becomes part of the lease records.
When Should the Inspection Be Completed?
The inspection should take place:
- Before the tenant moves furniture inside
- After cleaning and repairs are completed
- Before handing over the keys
- Ideally with both landlord and tenant present
Completing the inspection at the right time ensures the property’s original condition is accurately documented.
Preparing Before the Inspection
Before starting the walkthrough, gather everything you’ll need.
Inspection Essentials
- Printed inspection checklist
- Lease agreement
- Smartphone or camera
- Flashlight
- Pen or digital tablet
- Smoke detector tester (if applicable)
- Measuring tape (optional)
Having everything ready helps the inspection move efficiently.
Room-by-Room Landlord Move-In Inspection Checklist
Entrance and Exterior
Inspect:
- Front door condition
- Door lock functionality
- Doorbell
- Mailbox
- Porch or entryway
- Exterior lighting
- House numbers
- Walkways
- Driveway
- Garage door (if applicable)
Look for cracks, peeling paint, loose hardware, or safety hazards.
Living Room
Check:
- Walls
- Ceiling
- Flooring
- Windows
- Window locks
- Curtains or blinds
- Electrical outlets
- Light switches
- Ceiling fans
- Heating or cooling vents
Take photos of any scratches, dents, or stains.
Kitchen
The kitchen often experiences the most wear and tear.
Inspect:
- Cabinets
- Countertops
- Sink
- Faucet
- Garbage disposal
- Refrigerator
- Oven
- Stove
- Microwave
- Dishwasher
- Range hood
- Flooring
- Backsplash
Open every cabinet and appliance to ensure everything functions correctly.
Bedrooms
Each bedroom should include inspection of:
- Walls
- Ceiling
- Closet doors
- Closet shelves
- Flooring
- Windows
- Window screens
- Smoke detector
- Electrical outlets
- Light fixtures
Confirm all locks operate properly.
Bathrooms
Bathrooms deserve extra attention because water damage can become expensive.
Inspect:
- Toilet
- Sink
- Shower
- Bathtub
- Shower doors
- Mirrors
- Exhaust fan
- Tiles
- Caulking
- Plumbing
- Water pressure
- Hot water
Look carefully for mold, leaks, or cracked tiles.
Laundry Area
If the property includes laundry facilities, inspect:
- Washer
- Dryer
- Water supply lines
- Drain hose
- Vent connection
- Electrical outlets
Run both appliances briefly if possible.
HVAC and Utilities
Check:
- Air conditioning
- Heating system
- Thermostat
- Water heater
- Circuit breaker
- Carbon monoxide detector
- Smoke alarms
Safety equipment should always be tested before move-in.
Outdoor Areas
If applicable, inspect:
- Fence
- Lawn
- Garden
- Patio
- Deck
- Storage shed
- Irrigation system
- Outdoor lighting
Document any existing damage.
Don’t Forget Photos and Videos
Written notes are helpful, but photos provide stronger evidence.
Take clear pictures of:
- Every room
- Appliances
- Existing scratches
- Paint damage
- Flooring
- Windows
- Exterior
- Utility meters
Many landlords also create a short walkthrough video during the inspection.
Store all media in a secure cloud location for future reference.
Common Issues Found During Move-In Inspections
Some of the most common findings include:
- Scuffed walls
- Carpet stains
- Loose cabinet handles
- Minor plumbing leaks
- Broken blinds
- Chipped countertops
- Missing smoke detector batteries
- Worn weather stripping
- Cracked tiles
- Loose electrical outlets
Documenting these issues immediately prevents future disagreements.
Example Scenario
Imagine a tenant notices a small crack in the bathroom sink during move-in but forgets to mention it.
Eight months later, the crack expands significantly. Without documentation, the landlord may believe the tenant caused the damage.
However, if the crack had been recorded on the Landlord Move-In Inspection Checklist, both parties would already have proof that the issue existed before occupancy.
This simple documentation could prevent unnecessary conflict and save both sides time and money.
Digital vs Paper Inspection Checklists
Both formats have advantages.
Digital Checklist
Benefits include:
- Easier photo attachment
- Cloud storage
- Faster sharing
- Better organization
- Electronic signatures
Paper Checklist
Benefits include:
- Simple to use
- No technology required
- Easy during power outages
- Printed copies for records
Choose the format that works best for your rental process.
Best Practices for Landlords
To improve the inspection process:
- Schedule enough time.
- Never rush the walkthrough.
- Encourage tenants to ask questions.
- Record every issue honestly.
- Take high-quality photos.
- Keep signed copies.
- Address repair requests promptly.
- Maintain inspection records for future reference.
Professional documentation reflects professional property management.
Best Practices for Tenants
Tenants should also participate actively.
Remember to:
- Read every section carefully.
- Report existing damage immediately.
- Take personal photos.
- Keep a copy of the checklist.
- Test lights and appliances.
- Verify smoke detectors.
- Ask questions before signing.
Being thorough today can prevent costly disputes later.
Planning Your Move?
A successful move starts long before inspection day. Choosing experienced movers helps reduce stress and protects your belongings during relocation.
If you’re relocating within Qatar, explore our House Shifting Services
Need professional moving assistance anywhere in the country? Learn more about our Shifting Service in Qatar
Our experienced moving team handles packing, loading, transportation, and unloading with care, helping make your move as smooth as possible.
You can also follow our social media profiles for moving tips, relocation advice, and updates about our latest services.
Legal Considerations for Move-In Inspections
Although move-in inspection requirements vary by country, state, or municipality, documenting the condition of a rental property is considered a best practice almost everywhere. A completed inspection report serves as evidence if disagreements arise regarding property damage, maintenance responsibilities, or security deposit deductions.
Landlords should always comply with local landlord-tenant laws regarding inspections, privacy, notice requirements, and security deposits. Tenants should also understand their rights before signing the inspection report.
If you’re unsure about local regulations, consult your local housing authority or a qualified legal professional.
How a Detailed Inspection Protects Your Security Deposit
For tenants, the move-in inspection is one of the most effective ways to protect a security deposit.
Without proper documentation, pre-existing scratches, stains, chipped paint, or damaged appliances could mistakenly be considered tenant-caused damage at move-out.
By carefully recording every issue at the beginning of the lease, tenants establish a clear baseline of the property’s condition.
Likewise, landlords benefit by documenting that the property was clean, functional, and well-maintained before occupancy, making it easier to identify genuine tenant-caused damage later.
Seasonal Items to Include During an Inspection
Some property features should be inspected depending on the season.
Summer Inspection
- Air conditioning performance
- Ceiling fans
- Outdoor irrigation systems
- Patio furniture
- Window screens
- Exterior paint condition
Winter Inspection
- Heating system
- Water heater
- Insulation around doors and windows
- Roof leaks
- Weather stripping
- Pipe insulation
Considering seasonal factors helps identify maintenance issues before they become costly repairs.
Appliance Testing Checklist
Simply checking whether an appliance exists isn’t enough. Every appliance should be tested to confirm it operates safely and efficiently.
Inspect the following:
Kitchen Appliances
- Refrigerator cools properly
- Freezer maintains temperature
- Oven heats evenly
- Stove burners ignite correctly
- Microwave functions normally
- Dishwasher completes a wash cycle
Laundry Equipment
- Washer fills and drains correctly
- Dryer heats properly
- No unusual noises
- No water leaks
HVAC Equipment
- Thermostat responds accurately
- Air vents provide adequate airflow
- Heating starts without delay
- Air conditioning reaches desired temperature
Testing equipment before move-in reduces emergency maintenance requests after occupancy.
Safety Features Every Rental Property Should Have
Safety should never be overlooked during a move-in inspection.
Confirm that the property includes:
- Working smoke detectors
- Carbon monoxide detectors (where required)
- Fire extinguisher
- Secure door locks
- Window locks
- Emergency exits
- Exterior lighting
- Handrails on stairs
- GFCI outlets near water sources
- Clearly labeled electrical panel
These features help create a safer living environment while reducing liability risks for landlords.
Maintenance Issues That Should Be Fixed Before Move-In
Some issues shouldn’t wait until after tenants move in.
Examples include:
- Plumbing leaks
- Broken windows
- Loose electrical outlets
- Faulty door locks
- Mold growth
- Pest infestations
- Water damage
- Roof leaks
- HVAC malfunctions
- Unsafe flooring
Addressing these problems before occupancy demonstrates professionalism and improves tenant satisfaction from day one.
Move-In Inspection Mistakes to Avoid
Even experienced landlords occasionally overlook important details.
Avoid these common mistakes:
- Skipping small cosmetic damage
- Forgetting to test appliances
- Rushing the inspection
- Not taking photographs
- Missing exterior areas
- Failing to document meter readings
- Ignoring smoke detector testing
- Using vague descriptions
- Losing signed inspection records
- Not providing tenants with a copy
Being thorough today can prevent expensive disputes months or even years later.
Creating a Digital Inspection Record
Many property managers now use cloud-based documentation instead of paper files.
A digital inspection record may include:
- High-resolution photos
- Walkthrough videos
- Electronic signatures
- Timestamped inspection reports
- Maintenance requests
- Repair invoices
- Lease agreements
- Utility meter readings
Storing everything digitally makes future inspections and property management significantly easier.
Why Professional Movers Make Move-In Day Easier
A successful move isn’t just about transportation—it’s about protecting the condition of the property from the moment belongings arrive.
Professional movers know how to safely handle heavy furniture, protect floors and walls, and reduce the risk of accidental damage during loading and unloading. This is especially important immediately after a move-in inspection, when the property’s condition has just been documented.
Experienced movers also use protective blankets, floor coverings, furniture straps, and proper lifting techniques to minimize damage. Whether you’re relocating from an apartment, villa, or office, hiring trained professionals can save time while reducing unnecessary stress.
Final Tips for a Successful Move-In Inspection
Before handing over the keys, make sure you have completed every important step.
- Walk through every room carefully.
- Test every appliance and utility.
- Take clear, date-stamped photographs.
- Record existing wear and tear.
- Verify all keys are provided.
- Confirm smoke and carbon monoxide detectors work.
- Ensure both parties review the checklist together.
- Sign and retain copies of the completed inspection report.
A little preparation before move-in can prevent major disputes later and helps establish a positive landlord-tenant relationship from the very beginning.
Conclusion
A comprehensive Landlord Move-In Inspection Checklist is one of the simplest yet most valuable tools for protecting both landlords and tenants. By carefully documenting the property’s condition before move-in, you create a reliable record that reduces disputes, supports fair security deposit decisions, and encourages better communication throughout the tenancy.
Whether you’re managing multiple rental properties or moving into your first apartment, investing a little extra time in a thorough inspection can save significant time, money, and frustration later. Combine a detailed checklist with clear photos, honest communication, and organized records to ensure a smooth rental experience from day one.
Frequently Asked Questions
1. What is a Landlord Move-In Inspection Checklist?
A Landlord Move-In Inspection Checklist is a document used to record the condition of a rental property before a tenant moves in. It helps prevent disputes by documenting existing damage and property conditions.
2. Who should attend the move-in inspection?
Ideally, both the landlord and tenant should attend together so they can review the property, discuss any concerns, and agree on the documented condition before signing the checklist.
3. Should photos be included with the inspection checklist?
Yes. Photos and videos provide visual evidence that supports written notes and help clarify the property’s condition if questions arise later.
4. When should the inspection be completed?
The inspection should be completed after all cleaning and repairs are finished but before the tenant moves furniture or personal belongings into the property.
5. Is a move-in inspection legally required?
Requirements vary depending on local laws and regulations. Even where it is not mandatory, completing a move-in inspection is considered a best practice for landlords and tenants.
6. What areas should always be inspected?
The inspection should cover every room, including walls, ceilings, floors, windows, doors, appliances, plumbing, electrical systems, HVAC equipment, smoke detectors, and outdoor spaces.
7. Can a digital inspection checklist be used?
Yes. Many landlords use digital inspection forms because they allow electronic signatures, photo uploads, cloud storage, and easier record management.
8. What happens if damage is discovered after move-in?
The tenant should notify the landlord immediately and document the issue with photos. Prompt reporting helps distinguish pre-existing damage from new damage.
9. How long should landlords keep inspection records?
Landlords should keep signed inspection forms, photos, and related documentation for the entire tenancy and for the applicable legal record retention period after the lease ends.
10. Why is a Landlord Move-In Inspection Checklist important?
It protects both landlords and tenants by creating a documented record of the property’s condition, reducing misunderstandings, simplifying move-out inspections, and supporting fair security deposit decisions.
Follow Jarif Movers and Packers
Stay connected for moving tips, packing advice, relocation updates, and special service offers.
Follow us on Facebook for customer stories, moving guides, and the latest company updates.
Follow us on Instagram to see recent moving projects, packing techniques, behind-the-scenes work, and helpful relocation tips for homes and apartments across Qatar.